With a little patience, you can find real treasures at the thrift store. If you scour the coats and jackets section, maybe you’ve even been lucky enough to score a real leather jacket!
Due to the durability of the material, leather goods can be a once-in-a-lifetime purchase. Traditional styles like biker jackets are truly timeless. Or, maybe your style is the more modern bomber jacket.
Other styles include racer jackets, flight jackets, blazers, and even trench coats. Whatever your style may be, you’re probably wondering how to clean your new find.
After all, who knows the past life this leather jacket has lived? Cleaning your new leather jacket will also help extend its life. That way, you will be able to wear it for years to come. So if you're ready, there are a few simple steps to bring your leather jacket back to life and in good condition.
Continue reading for your step-by-step guide on how to clean your thrifted leather jacket, making it good as new again!
Jump to:
Supplies Needed
In order to clean your leather jacket, there are a few supplies you will need to gather. Prior to purchasing items or beginning cleaning, it is a good idea to check the care label on the jacket for any cleaning specifics that apply.
Leather Cleaner
Read the description of the leather cleaner bottle carefully. Ensure it is supposed to be used for the type of leather you have. Depending on the leather cleaning product, some leather cleaners are for genuine leather. Other cleaning solutions are more suited for a nubuck or suede jacket specifically.
If you do not have or want to buy a leather cleaner, you can opt for mild dish soap instead. Make sure it is something gentle.
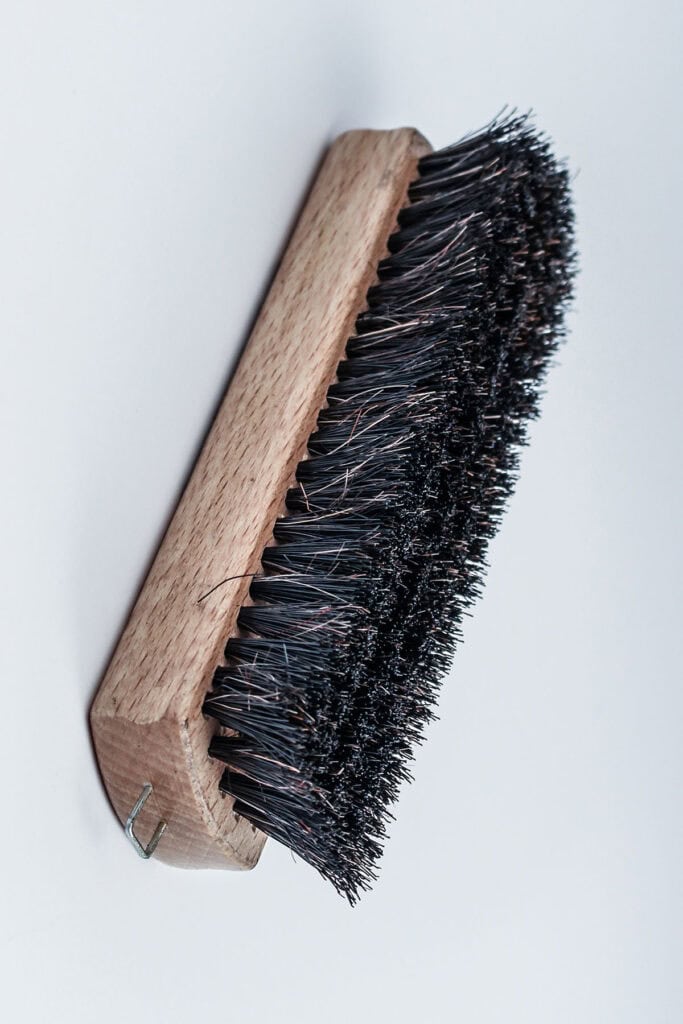
Soft Bristled Brush Or Sponge
Find a soft-bristled brush, even a toothbrush, or a clean sponge.
Clean Cloth
In addition to the soft bristle brush and/or sponge, you will need a clean, soft cloth. Make sure you have a few of these on hand. You’ll understand why later.
Leather Conditioner
Again, ensure the leather conditioner is meant to be used for your specific type of leather. This product is a leather protector to help your jacket last for years to come.
Step 1: Test The Cleaner
Before you apply any substance to the entirety of your leather jacket, you will want to test it first on an inconspicuous area. This first step is to err on the side of caution and make sure the jacket agrees with the substance you will be applying.
An inconspicuous area may be on the underside of the collar, on the underside of the front flap if it’s a moto jacket, or a small area underneath the armpit. The goal is to find a place where it is not obviously visible to the human eye just in case things go awry.
Apply the cleaner, and wait a few minutes. If nothing happens, then you’re in the clear. If you begin to see an area of discoloration or damage, do not continue to use that product for the entirety of your jacket.
Step 2: Rid Surface Dirt And Grime
Now that we’ve covered our bases and ensured our cleaning product will not damage the jacket, it’s time to get started! Break out your soft bristled brush or sponge for this step.
This step is just like sweeping before you mop. You want to make sure you get all of the loose dirt and debris off of the surface prior to deep cleaning it. Plus, you want to get rid of that thrift store smell the jacket may be carrying.
So use the brush or sponge to remove any surface dirt or grime from the jacket. With this step, avoid pressing hard into the jacket and causing too much pressure. This may damage the jacket.
During this step, pay close attention to the inside of the collar and the end of the sleeves. Both of these areas tend to have the most built-up grime.
The inside of the collar, which touches the back of the neck, can have dirt and sweat marks. The end of the sleeves, or the cuffs, end up touching other objects and substances as we reach and touch things as we wear the jacket.
Therefore, these two areas may require a little extra attention.
Step 3: Apply Leather Cleaner
In this step, you will need the leather cleaner and clean cloth. To set up the jacket, lay it flat on a clean surface or hang it in a free space, like in your tub on your shower curtain rod. Squeeze about a quarter size amount into the cloth. Press the cloth into a small area on the jacket, and begin to spread the cleaner in a light circular motion.
Again, with all of the tools and materials we apply to the jacket, avoid applying too much pressure to avoid damage. Continue this trend for the entirety of the jacket.
If you choose to hang the jacket on your shower curtain rod, you are able to access all sides of the jacket and complete this step all at once. If you choose to lay the jacket flat, you must complete one side, wait for it to dry, then flip the jacket over and repeat the sequence on the other side.
As an alternative to the leather cleaner, you can use mild dish soap instead. This lessens the potentially harsh chemicals that you will be using to clean your leather jacket.
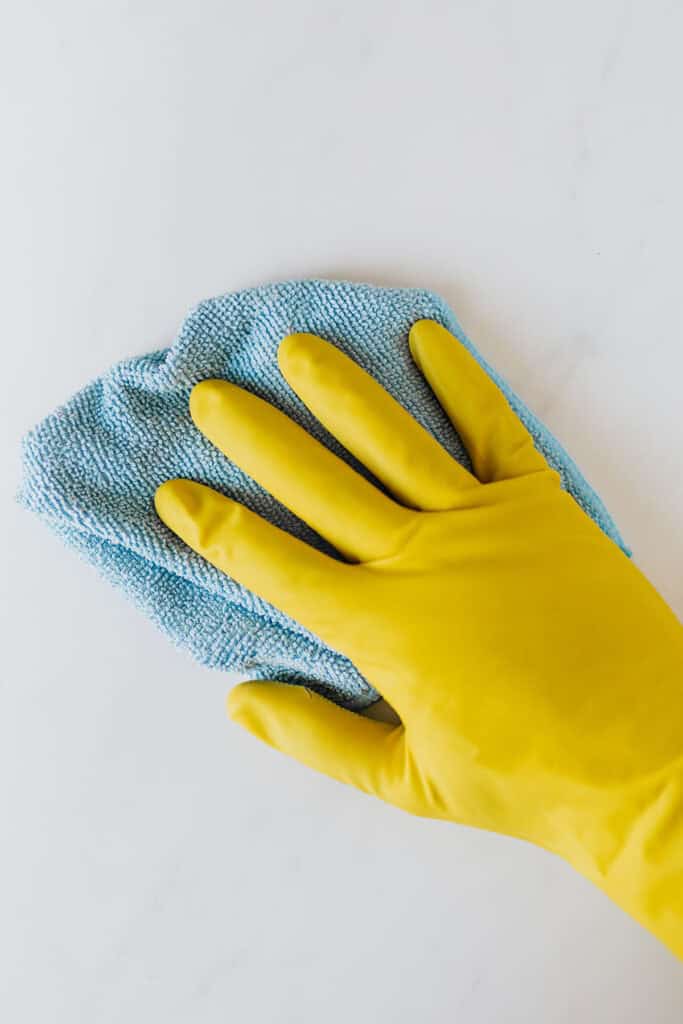
The sequence is similiar: apply a small amount of dish soap onto your clean cloth. In the same manner, rub gently in circular motions over the entirety of the jacket.
Next, run the soapy cloth under warm water. For this step, avoid using cold water. Wring out the cloth to ensure it is damp, not soaking. This is also the reason you will want to avoid putting your leather jacket in the washing machine.
So in the same manner, gently rub this damp cloth with soapy water over the whole jacket, including every nook and crevice.
If you choose the mild soap cleaning solution method, you will also need to rinse the jacket. Obtain a new, clean cloth and get it wet with warm water. Again, make sure the towel is damp and not fully saturated and dripping. Wipe down the entire jacket, ridding any soap suds.
Just like with the leather cleaner method, wait for the jacket to fully dry before moving on to the next step.
Step 4: Apply Leather Conditioner
Now that the leather is dry after completing the leather cleaner or mild soap method, it’s safe to move on to the next step. For the next step of learning how to clean a leather jacket from the thrift store, you will need the leather conditioner.
Just as in the previous step, apply a small amount of leather conditioner onto another new, clean cloth. Rub in the same circular motion, refraining from using too much pressure. Complete this step for the whole jacket.
Of note, pay close attention to areas that naturally bend more with normal jacket usage. This includes areas like the collar and elbows. That is because these areas are more likely to crack and show wear over time.
While you want to show a little extra love to these specific areas, you still want to avoid overdoing it. This will cause the jacket to become greasy. And while we love a leather shine, greasy is not a good look.
With this step in the process, you are able to start light and apply more as needed. When in doubt, err on the side of caution.
After you’ve applied as much leather conditioner as appropriate (according to the leather conditioner instructions), let it soak in and penetrate the material. This will take about 30 minutes.
Just like a deep, leave-in conditioner for your hair, this technique in leather conditioning will deeply nourish the jacket to keep the leather soft.

Step 5: Buff The Jacket
In this step, you will need another clean, dry cloth. Told you that you would need a few!
If you’ve made it this far, you’re a pro at the leather cleaning process. So just keep doing what you’re doing. Use those gentle circular motions with the clean cloth to buff the jacket all over.
Step 6: Hang The Jacket To Dry
After you've finished applying leather cleaner and conditioner, it’s time to hang up your jacket and let it rest. This will allow the jacket to dry while decreasing the amount of wrinkles. For this part, find a cool and dry place.
The best way to hang the jacket is by placing it in a closet that doesn’t let direct heat or direct sunlight penetrate. However, you still want to ensure there is ventilation for the air to circulate to completely dry the jacket.
Keep checking back in on your garment to make sure it is totally dry before taking it out for a night on the town.
And that's it! Although this process may take a long time, it is all worth it because now you have a good as new clean leather jacket. Plus, with this at-home method, you can skip the dry cleaners hassle and cost.
Additionally, you can use this technique and these supplies on another leather item in your house such as for leather purses, leather shoes, or even leather pants. You can even clean your furniture that is made of leather!



Leave a Reply